 Most homeowners spend very little time thinking about what’s actually above their heads. That’s completely normal. A roof’s whole job is to work quietly in the background, keeping you dry without demanding your attention.
But when something goes wrong, or when it’s time for a replacement, suddenly you’re in a conversation full of words like “underlayment,” “fascia,” “counter flashing,” and “ice and water shield,” and it can feel like the contractor is speaking another language.
This guide changes that. We’ll walk through every major component of a residential roof, in plain English, from the structural bones at the bottom to the shingles at the top. Where components have specific relevance to Seattle area homes and several do. We’ll call that out directly.
Understanding your roof doesn’t make you a roofer. But it does make you a more informed homeowner, and that matters when you’re evaluating estimates, asking questions, or trying to understand what went wrong.
The Structure: What Holds Everything Up
Before there are shingles, before there’s even a deck, there’s a structural framework that gives the roof its shape and carries its weight. These components are invisible once the roof is complete, but everything above depends on them.
Rafters are the sloped beams that run from the peak of the roof down to the eaves, forming the triangular shape of the roof. In older Seattle-area homes, particularly those built before the 1980s, rafters are cut and installed on-site by carpenters, a method called “stick framing.” Each rafter is individual, which makes repairs more straightforward but also means attic spaces tend to be more open.
Trusses serve the same purpose as rafters but are engineered differently. Rather than individual beams, trusses are pre-fabricated triangular frames manufactured off-site and craned into place. They became the dominant method in residential construction from the late 1970s onward, which means most homes in Covington, Kirkland, Redmond, and other Eastside suburbs built in the 1990s and 2000s use trusses. Trusses are extremely efficient but leave little usable attic space.
The ridge board runs horizontally along the very peak of the roof — the highest point where the two sloping sides meet. Rafters attach to it on both sides, and it provides the anchor point for ridge cap shingles and ridge vents above.
Fascia is the vertical board that runs along the lower edge of the roofline, capping the ends of the rafters. It’s what gutters are attached to, and it’s visible from the ground. Fascia is a common site of rot in Seattle area homes, particularly when gutters overflow or are poorly maintained.
Soffit is the underside of the roof overhang. The horizontal surface you see when you look up at the eaves. Soffits often contain small perforated vents that allow fresh air to enter the attic, which is a critical part of the ventilation system.
The Deck: The Foundation for Everything Above
Sitting directly on top of the rafters or trusses is the roof deck, also called sheathing. This is the solid surface to which everything else is nailed or adhered.
Roof deck (sheathing) is typically made from plywood or OSB (oriented strand board) panels. Sheets are nailed across the rafters or trusses in a staggered pattern to create a continuous, stable surface. The deck is load-bearing and it supports the weight of workers, materials, and eventually the finished roof system.
When a roofing contractor removes your old shingles during a tear-off, the deck is the first thing they inspect. They’re looking for soft spots, delamination, rot, and water damage. The problems that are invisible from above until the shingles are gone.
Seattle Note: Deck damage is more common in Seattle-area homes than in drier climates, and it’s one of the most frequent sources of unexpected costs during a roof replacement.
The Waterproofing Layers: What Actually Keeps Water Out
Here’s something that surprises most homeowners: shingles alone don’t waterproof your roof. They’re the first line of defense as they shed the vast majority of water, but the layers beneath them are what actually prevent water from entering your home when shingles are compromised. The National Roofing Contractors Association (NRCA) identifies proper underlayment and flashing installation as among the most critical quality indicators in any roofing project.
Underlayment is a water-resistant sheet material installed directly over the deck, beneath the shingles. Think of it as the safety net — if water gets under a shingle, the underlayment is what stops it from reaching the deck and your home below. There are two main types:
- Felt underlayment (sometimes called tar paper): the traditional option, made from asphalt-saturated felt. Still widely used and code-compliant.
- Synthetic underlayment: a newer, more durable option made from woven or laminated polypropylene. More tear-resistant, lighter, and better suited to wet climates.
Ice and water shield is a self-adhering waterproof membrane installed in the most vulnerable areas of the roof: eaves, valleys, around chimneys, skylights, and other penetrations. Unlike regular underlayment, ice and water shield is fully adhered to the deck, creating a watertight seal that can’t be lifted by wind-driven rain.
Seattle Note: For Seattle and surrounding areas, it’s worth asking your contractor if ice and water shield is recommended for your roof. For susceptible areas, this added layer of protection can give homeowners peace of mind.
Drip edge is a metal flashing strip installed along the eaves and rake edges of the roof. Its job is to direct water away from the fascia and into the gutter rather than allowing it to run back under the roofline. Without a properly installed drip edge, water can wick back under the shingles and cause rot along the fascia and soffit. Drip edge is a code requirement in Washington State and should be present on every quality installation.
The Shingles: The Outer Layer Everyone Sees
Shingles are the most visible part of any roof and what most people picture when they think of a roof. But as the layers above illustrate, they’re just one component in a multi-layer system.
Asphalt shingles are by far the most common roofing material in the Pacific Northwest and nationally. They come in two main varieties:
- Three-tab shingles: the older, thinner, flat-profiled option. Recognizable by the three uniform cutouts along the bottom edge. Less common in new installations today.
- Architectural (laminated) shingles: the current standard. Thicker, layered, and with a more dimensional, textured appearance. More durable and wind-resistant than three-tab. Nearly all quality roof replacements today use architectural shingles.
Ridge cap shingles are specially designed shingles that cover the peak of the roof. Because the ridge is where two slopes meet at an angle, regular flat shingles can’t conform to it properly. Ridge caps are pre-bent and engineered to seal this transition while accommodating the ridge vent system beneath.
Starter strip shingles are installed along the eaves before the first full course of shingles begins. They create a sealed edge at the lowest point of the roof, preventing wind uplift and water intrusion. Skipping starter strips is a common shortcut taken by less scrupulous installers.
Seattle Note: In the Seattle area, algae resistance is worth asking about when selecting shingles. Many modern architectural shingles contain copper granules that inhibit certain algae growth, which is a meaningful upgrade for Seattle-area homes where roof surfaces stay damp for months at a time. Manufacturers like CertainTeed offer shingle lines specifically designed with algae resistance built in.
See how different CertainTeed shingle lines compare →
The Flashing: Where Leaks Are Born and Prevented
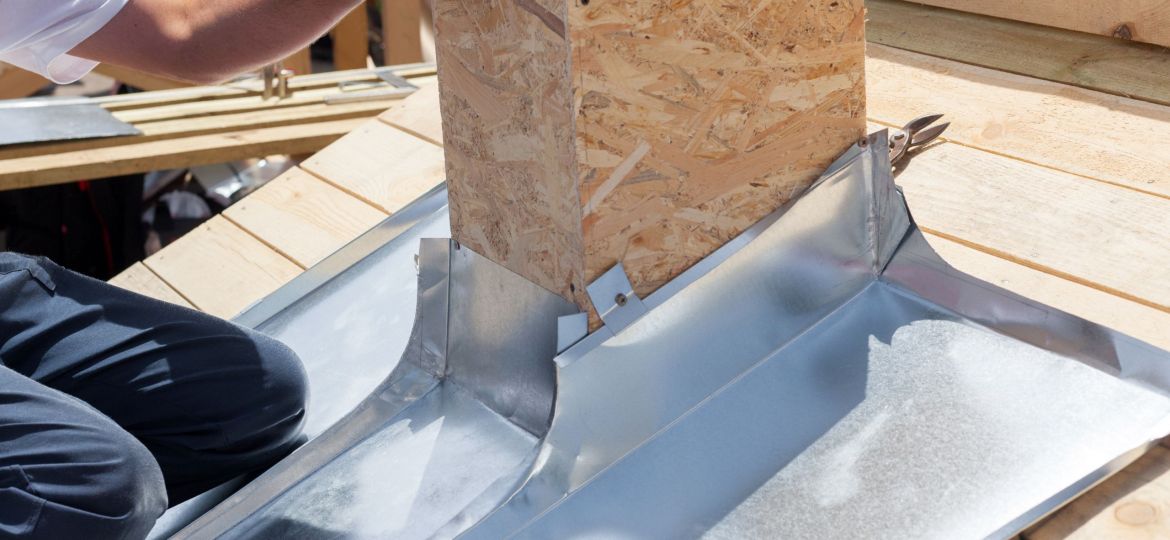
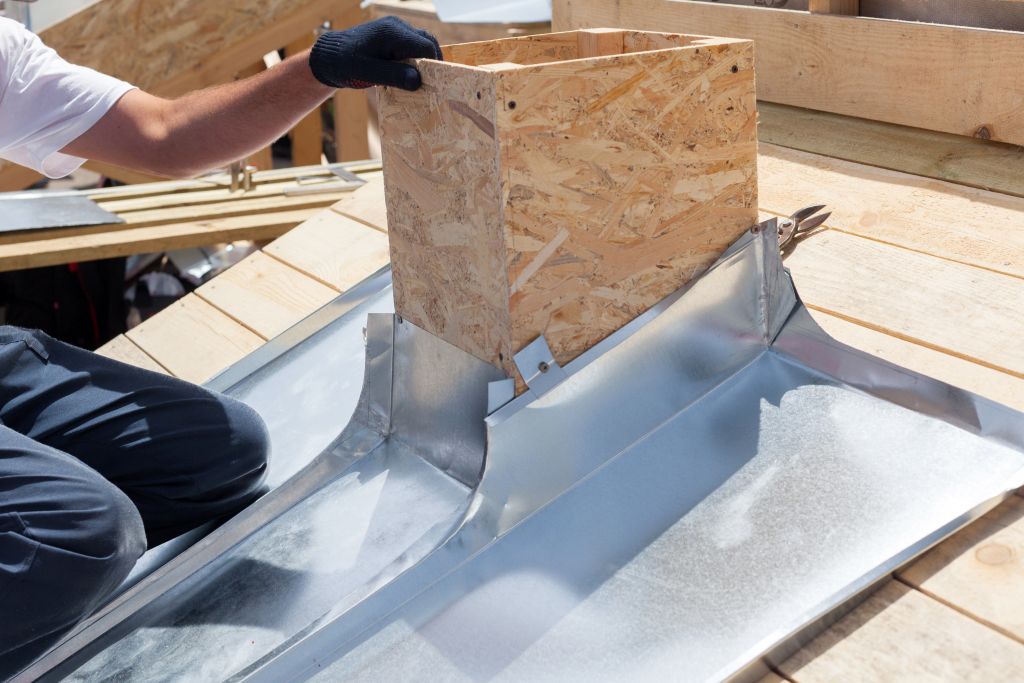
If shingles are the most visible part of a roof, flashing is the most consequential part that most homeowners never think about. Flashing consists of thin metal pieces. Typically galvanized steel, aluminum, or copper and installed wherever the roof meets a vertical surface or changes direction.
Step flashing is a series of L-shaped metal pieces installed in a stair-step pattern along the sides of dormers, skylights, and walls where they intersect the roof plane. Each piece overlaps the one below it, directing water away from the joint and onto the shingle surface rather than behind it.
Counter flashing is installed over step flashing, particularly at chimneys. It’s embedded into the mortar joints of the chimney masonry, creating a two-part waterproof seal. A chimney with properly installed counter flashing is one of the marks of a quality roofing job.
Valley flashing is installed in the V-shaped channels, called valleys, where two roof planes meet. Valleys are high-water-flow areas: every drop of rain that falls on either adjacent slope runs through them. Poorly installed valley flashing is one of the most common sources of leaks in residential roofs.
Pipe boots and vent flashing are rubber or metal boots that seal around plumbing vents, exhaust fans, and other penetrations through the roof. Rubber pipe boots are particularly vulnerable to cracking over time, making them a common source of leaks in older homes.
Seattle Note: Flashing failures are among the leading causes of leaks in Seattle-area homes. The combination of heavy, sustained rainfall and freeze-thaw cycles puts significant stress on flashing joints. When evaluating a roofing bid, ask specifically how the contractor handles chimney counter-flashing.
Learn more about what to look for when hiring a roofing contractor →
Ventilation: The Component Most Homeowners Forget
Ventilation isn’t glamorous, and it’s often left out of basic roof anatomy guides. But in the Pacific Northwest, it may be the single most important factor in how long your roof lasts.
A properly ventilated roof has two types of openings working together:
Ridge vents run along the peak of the roof and allow hot, moist air to escape from the attic. Because hot air rises, the ridge is the natural exit point.
Soffit vents are located under the eaves in the soffit panels, where fresh cooler air can enter the attic from below. The system works by convection: cool air enters at the soffit, warms as it moves through the attic, and exits at the ridge — continuously flushing moisture and heat.
Seattle Note: In the Pacific Northwest’s persistently damp climate, inadequate ventilation is a direct driver of premature deck rot and attic mold. Washington State code requires a minimum of 1 square foot of net free ventilation area per 300 square feet of attic floor area when both intake and exhaust vents are used. When replacing a roof, it’s worth having your contractor assess your current ventilation system and address any deficiencies at the same time.
How All These Parts Work Together — and What Fails First
A roof isn’t a single material. It’s an integrated system where every component depends on the others performing correctly. Shingles rely on underlayment beneath them. Underlayment relies on a sound deck beneath that. Flashing relies on proper overlap with both shingles and underlayment. Ventilation protects the deck from moisture that would otherwise undermine the entire system.
When a roofing contractor inspects your roof or gives you an estimate, they should be evaluating all of these layers, not just the surface shingles. A bid that only addresses shingles without mentioning underlayment type, flashing treatment, or ventilation is a bid that’s cutting corners somewhere.
The components most likely to drive a replacement are:
- Shingles: aging, curling, granule loss, storm damage
- Flashing: failures at valleys, chimneys, and penetrations, often the first place leaks develop
- Deck: rot or damage from moisture intrusion or poor ventilation, often invisible until tear-off
Understanding this helps you read an estimate more critically, ask better questions, and recognize the difference between a quality installation and a low-price job that will cost you more in the long run.
Learn what repair vs. replacement really means for your home →
Putting It All Together
From the rafters that give your roof its shape, to the deck that anchors everything above, to the underlayment and ice and water shield that do the real waterproofing work, to the shingles, flashing, and ventilation that complete the system — every component has a specific job and works in concert with the others.
Knowing these parts won’t make you a roofing expert. But it will make you a more confident homeowner when the time comes to make decisions about your roof — whether that’s reviewing a replacement estimate, understanding what a contractor found during an inspection, or simply knowing what questions to ask.
If you’re in the Seattle area and your roof is approaching that conversation, A Better Roofing Company has been helping homeowners navigate it since 1991. We only do replacements, which means we can give you an honest, unbiased read on whether your roof has life left or whether it’s time to move forward.
Request your free roof inspection and estimate →
Or call us directly: (206) 935-1575
Related Reading